Incubation Tips
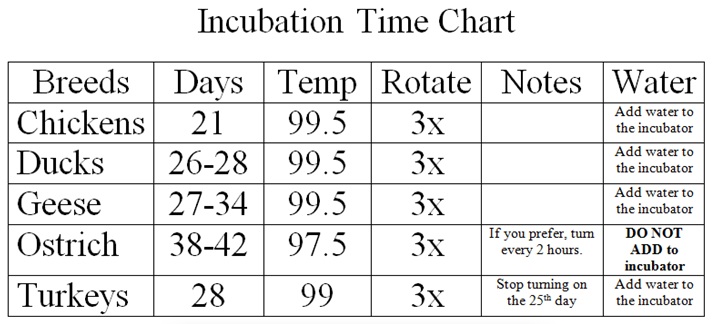
The following table is a quick reference chat for important incubation facts and notes for our poultry and ostriches.

Incubator Image: Reptipro 5,000 incubators are good for Ostrich eggs. Recommended for ostrich incubation.
Incubator can only hold four ostrich eggs at a time.
Incubator can only hold four ostrich eggs at a time.
Incubation Information
We are starting to add incubation and instruction for our poultry and bird types of fertilized eggs products. If we sell it, you will be able to find helpful instructions, information, and helpful tips for incubating your purchase. We will be continuously adding and updating this section to give our customers the most relevant and update data and practices for incubation. Our research is based on numerous primary and secondary sources.
Poultry and birds types written incubation instructions are added to this page in the following order:
Chicken
Duck
Goose
Ostrich
Turkey
Feel free to contact us with follow-up questions or concerns at [email protected]
Poultry and birds types written incubation instructions are added to this page in the following order:
Chicken
Duck
Goose
Ostrich
Turkey
Feel free to contact us with follow-up questions or concerns at [email protected]
Chicken

|
------------------------------------------------------------------------------------------------------------------------------------------------------------------------------------------
Duck
|
------------------------------------------------------------------------------------------------------------------------------------------------------------------------------------------
Goose
|
------------------------------------------------------------------------------------------------------------------------------------------------------------------------------------------
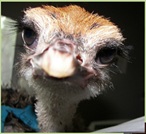
Ostrich
|
Prior to the arrival of your fertile ostrich eggs, be sure that your incubators are operating & set at 97.5 degrees Fahrenheit. Have them up and running for 72 hours before your eggs arrive. Your incubation room will need to have fresh air intake at all times, and the exhausted air from your incubator must exit the facilities at all times. DO NOT ADD WATER TO THE INCUBATOR! Note: If Shipped, All of your eggs will arrive with the air cell in the upward position, and the eggs should be all set with the air cell in the same upward position. Due to the size or make of your incubator, this may not be possible. Your eggs will need to be rotated “at least” every 8 hours (every 2 hours is preferred). If your incubator will not automatically rotate your eggs, manual rotation will be needed. To insure proper consistent heat & humidity levels, keep the doors to your incubators closed as much possible. Your eggs will begin to hatch within 38 to 42 days. It is best that you have a separate hatchery in order to transfer the eggs into your hatcher at day 38. Your hatcher will need to be set at 97.5 degree temperature & about 45% humidity level. If you do not have a separate hatcher/brooder box, you will need to make accommodations with your incubator.
Do not assist your chicks in hatching. After you observe the pipping out of the chick, they may take as long as 24 hours to fully hatch out. If they are healthy chicks, they will make it out on their own. “Be Patient“Leave your chicks in the hatcher for about 2 days before transferring them into their chick area. Be sure that they are not directly on a cold floor surface, and that they always have access to a heat source of about 80 degrees. The chicks will not eat or drink for about 3 or 4 days. They are getting nutrition from their yoke sack. Tapping your finger on the ground near or in their food will encourage them to begin understanding where their food source is. Do the same in their water-bowl. Fresh food & fresh water (during the day only- take up at night), 24 hours available heat source & plenty of room to exercise is a must!!! Encourage exercise by walking behind them and try to move them at a good pace that will give them maximum exercise. Make sure that there is not any a small pebble or objects on the ground that they can peck at and ingest. A 24% protein level “fresh” chick starter from Bluebonnet or Purina will be their sole diet for about 2 months. Slowly mix & graduate to a 22% ratite maintenance feed from month 2 to adult. A 23% breeder ration will be needed at about 2 to 3 years. Always before and after hatching, clean and sterilize the incubator and brooders box. Finally, always remember to wash your hands with soap and warm water before and after touching the eggs or chicks. |
------------------------------------------------------------------------------------------------------------------------------------------------------------------------------------------
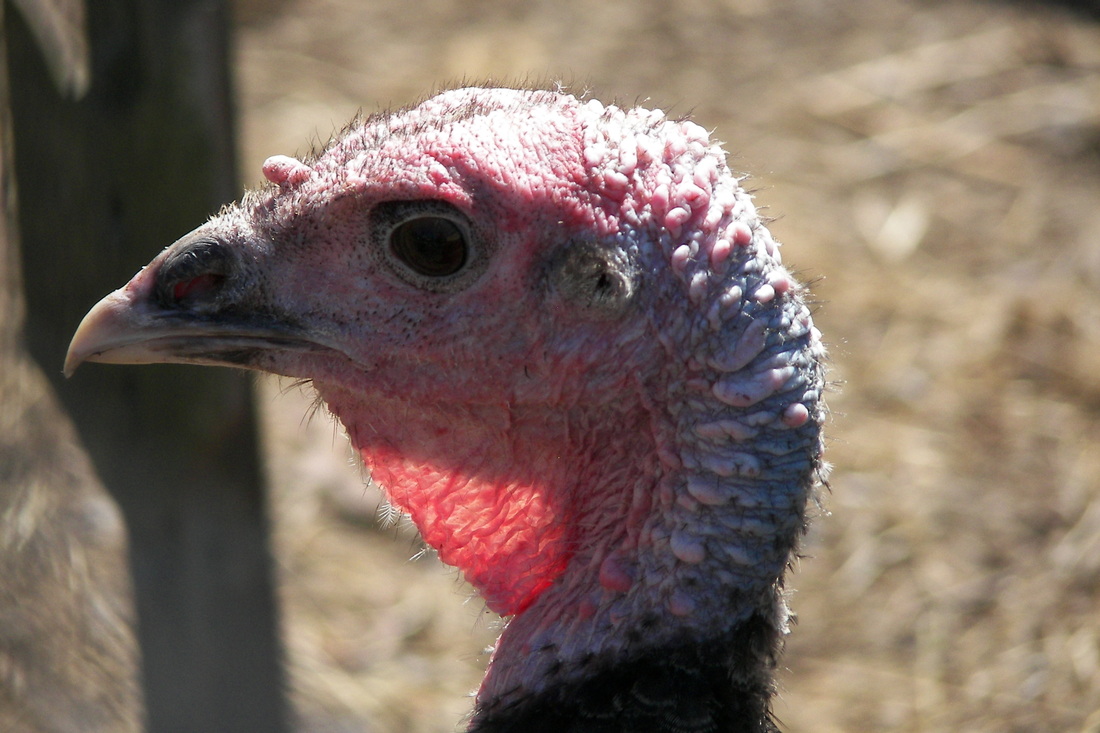
Turkey
|
Read the manual well, so you understand how to set its temperature properly. Make sure it is clean and disinfected before use. The amount of moisture in the incubator or humidity in the incubator is also important. Fill the water channels as mentioned in the manual. Make sure the incubator is placed far away from air vents, doors, or windows; as such location can let in cold air or sunlight, which can affect its temperature. Set up the incubator 24 hours before placing the eggs. Set Temperature around 98 F (max 102 F).
Turkey eggs require 28 days to hatch, so keep track of the days of incubation. First 24 days are key days for the eggs. Check the incubator humidity. Must not get to dry or wet. Some incubators automatically turn your eggs, but if not then you need to turn the eggs. They should be rotated at least 4 times a day. The eggs should be turned by 180 degrees, such that the side with the other symbol is completely visible. Turn all eggs in the incubator at the same time. On the 25th day stop turning the eggs. The eggs should be undisturbed for 3 days. Once the turkeys hatch leave then in the incubator until they dry, that is about 15 minutes. Then remove them and put them in your brooder, under a heat lamp with chick starter and water. |
